Portable Power
← All Build JourneysProject 04 · Battery acquired; wiring and enclosure in progress
A LiFePO4 Battery and the Great Connector Standardization Project
Radios are fun.
Powering them can be a project all by itself.
When I started working with my HF equipment, I used a bench power supply set to around 13.8 volts.
That worked fine at the workbench.
But I wanted to operate away from the shop, and I wasn't particularly interested in dragging an entire bench setup around every time I wanted to play radio.
So I started looking at batteries.
Choosing the battery
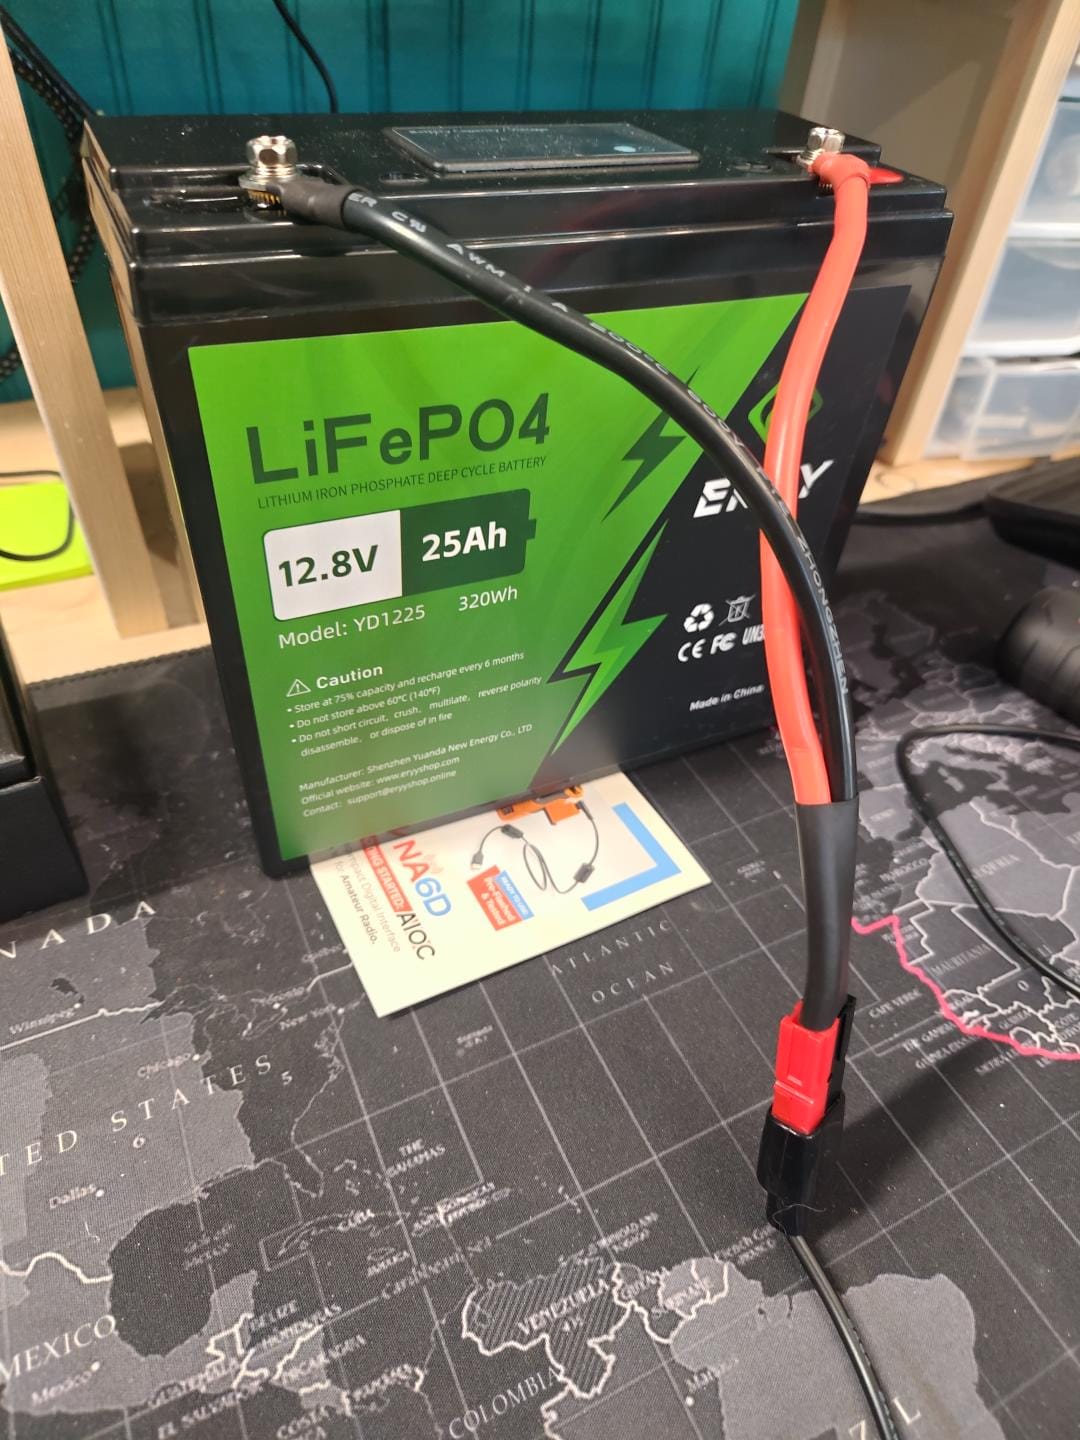
I eventually purchased a 12.8-volt, 20Ah LiFePO4 battery.
It's compact, rechargeable, and potentially useful for portable radio operation.
I wanted something capable of supporting my equipment without being unnecessarily heavy or complicated.
But I also wanted to build a proper power system around it.
Simply attaching two wires to the terminals wasn't the finished product I had in mind.
Another connector problem
One thing I discovered very quickly is that radio manufacturers have used a variety of power connectors.
I had different radios, different cables, and different connector requirements.
Fortunately, connectors are something I'm pretty comfortable dealing with.
I've accumulated bins of them over the years.
Still, I didn't want to keep hunting for the right adapter every time I moved equipment around.
So I decided to standardize the portable side of my station around Anderson Powerpole connectors.
I could build adapters for each radio and use compatible power leads across the setup.
I also ordered traditional T-type two-pin radio power connectors for equipment that uses them.
That would let me build replacement cables rather than rely entirely on commercially assembled ones.
Crimp it or solder it?
Even something as simple as installing a Powerpole connector led to another learning experience.
Do I need a special crimping tool?
Can I solder the terminal?
How does the metal contact lock into the plastic housing?
These aren't particularly difficult questions individually, but they're the little details that determine whether a finished project is reliable.
Here's what actually happened at the bench: the wire I was trying to fit into the Powerpole contact was too bulky. I ended up removing roughly half the strands, stripping the insulation back about a quarter inch, crimping the contact, and adding solder at the neck so the connection would slide into the plastic housing. It took some fiddling, but I got it seated.
That was a fitment workaround, not a wiring method I'd recommend blindly for a high-current radio. Cutting strands reduces the conductor's current capacity, and solder can wick into the flexible portion and create a stress point. Before I rely on this setup at full load, I need to verify the wire gauge and use contacts sized for the conductor, then check the connection under load.
And with radio equipment that can draw significant current, reliable connections matter.
Charging the battery
I also wanted to see whether I could charge the battery using my existing bench power supply.
I experimented with the voltage and current settings, checking readings as the battery charged.
At one point, I was seeing approximately 13.63 volts, 4 amps, and 54.5 watts.
That prompted another round of learning about LiFePO4 charging, constant-current and constant-voltage behavior, and the battery's recommended charging limits.
It's easy to treat a battery as a black box.
I'd rather understand what it's doing.
The enclosure
The eventual goal is a small portable battery box.
Something with a handle, protected wiring, suitable fusing, and connectors I can use with multiple radios.
Since I own a 3D printer, I'd like to fabricate at least some of the enclosure or mounting components myself.
And if I can reuse materials from an older project, even better.
I'm not interested in building the most expensive portable power station.
I want one that's practical, safe, repairable, and built around the equipment I already have.
What comes next
I need to finalize the connector layout, select appropriate wiring and fusing for the intended loads, and decide how the battery should be housed.
Once everything is assembled, I can test how long it runs the X6100 under actual operating conditions.
And then, hopefully, take it somewhere and make some contacts.
Parts I used (and things still on the list)
- 12.8V 20Ah LiFePO4 battery — Amazon listing supplied
- Anderson Powerpole connectors, T-type radio plugs, wire, fuses, terminals, custom enclosure
Additional specific part links and photos will be added as the builds progress.